How to Set up Two-Factor Authentication (2FA) for Webmail
Step-by-step: Set up Two-Factor Authentication (2FA) for Webmail
Requirements (before you begin)
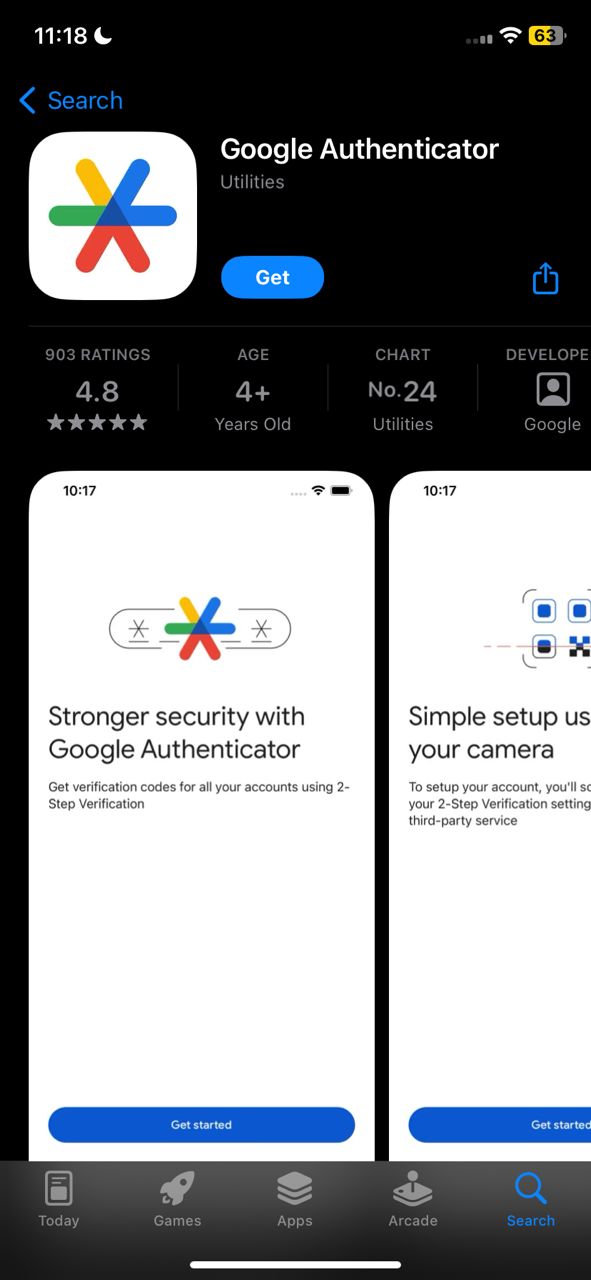
- You’ll need a smartphone with a TOTP authenticator app installed (examples: Google Authenticator, Authy, Microsoft Authenticator, Duo Mobile).
Step 1 — Log in to Webmail
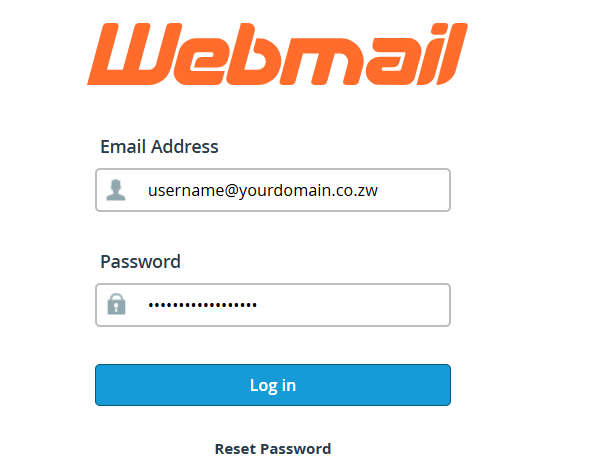
- Open your webmail login page.
- Sign in with your username and password.
Step 2 — Open Account Settings
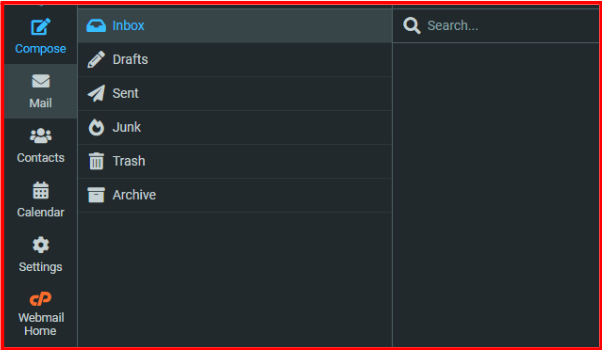
- Once logged in, go to Webmail Home.
- Locate the Webmail Home Button as illustrated on the screenshot below.
- Find and click Webmail Home.
Step 3 — Find Two-Factor Authentication
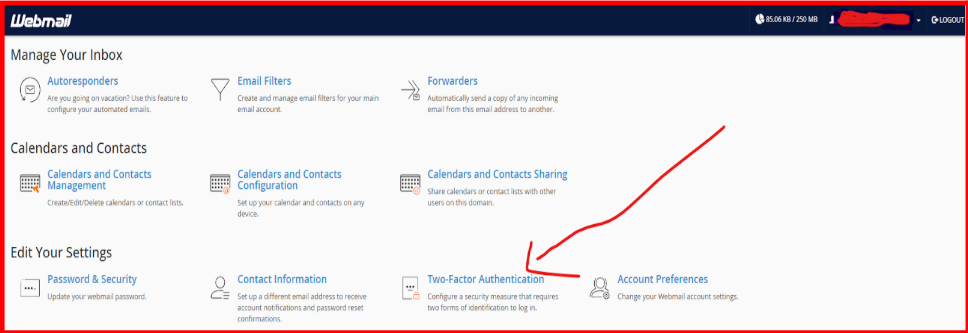
In the settings menu, look for Two-Factor Authentication, 2FA, or Security.
- Click the Two-Factor Authentication option.
Step 4 — Enable 2FA
- Click the button labeled Enable 2FA (or Two-Factor Authentication).
- The webmail page will prompt you to set up an authenticator app.

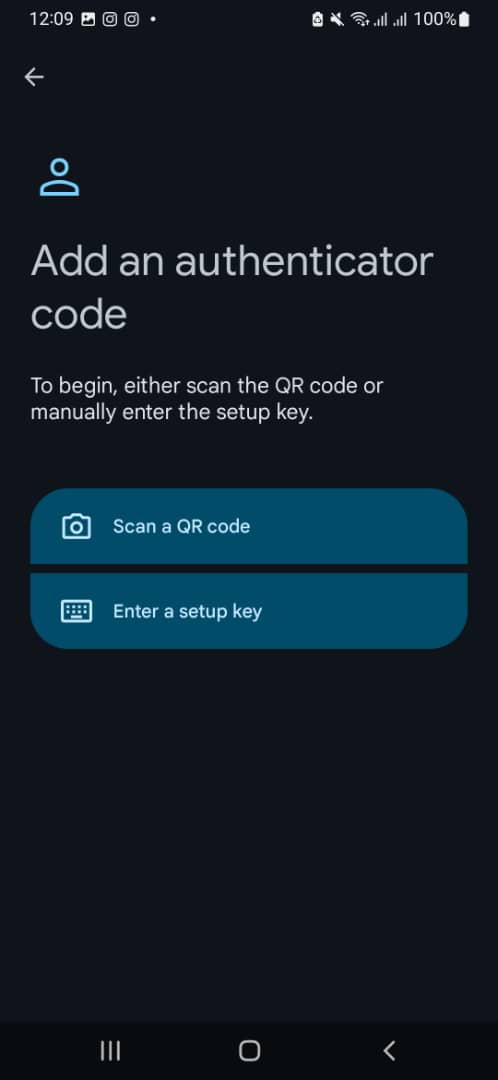
Step 5 — Install / Open an Authenticator App
- If you don’t already have one, install an authenticator app from your phone’s store App store (IOS) and Google play store Android (Google Authenticator, Authy, Microsoft Authenticator, etc.).
- Open the app and choose Add account (or + / Scan QR code / Manual entry).
Step 6 — Link the App to Webmail (QR code or manual)
- On the webmail 2FA setup page you’ll see a QR code and often an Account name + Key (manual backup).
- Automatic (recommended): Scan the displayed QR code with the authenticator app.
- Manual: If you cannot scan, choose manual entry in the app and type the provided Account and Key values.
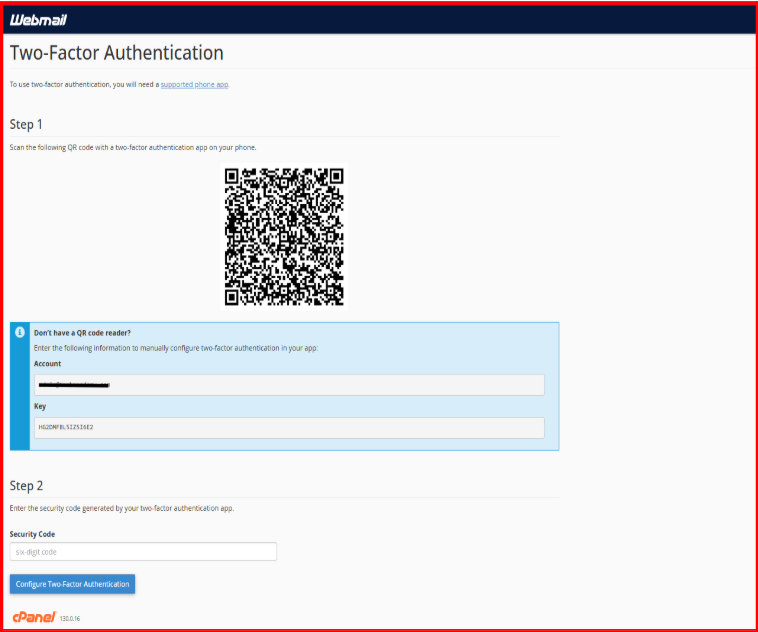
Step 7 — Enter the verification code
- After linking, the authenticator app will display a temporary 6-digit code (these codes change every ~30 seconds).
- Type the current 6-digit code into the Verification or Security Code field on the webmail setup page.
- Click Verify or Submit to complete the setup.
- Important: Enter the code quickly — if it times out (after ~30 seconds) the app will generate a new code and you’ll need to enter that one instead.

Step 8 — Save backup / recovery codes
- Print them or save them in a secure place (password manager, encrypted notes).
- These codes let you access your account if you lose your phone.
Step 9 — Confirmation and future logins
After verification you should see a confirmation that 2FA is active.
- From now on, after entering your password when signing in to webmail you’ll be asked for a code from your authenticator app.
Removing or reconfiguring 2FA
- Remove 2FA: In the same settings area click Remove Two-Factor Authentication.
- Reconfigure 2FA: Click Reconfigure and repeat the setup steps.
- Warning: Reconfiguring overwrites the existing 2FA setup — old codes will stop working.
- Warning: Reconfiguring overwrites the existing 2FA setup — old codes will stop working.
Troubleshooting checklist
- If the verification code is rejected:
- Make sure you entered the code before it changed (within ~30 seconds).
- On your phone, set time to automatic / network time — authenticator apps rely on correct time.
- Make sure you entered the code before it changed (within ~30 seconds).
- If you lose your device:
- Use a backup code to log in, then reconfigure 2FA.
- Contact your host’s support if you cannot access the account with backups.
- Use a backup code to log in, then reconfigure 2FA.
- If you don’t see the 2FA option:
- Contact us to confirm 2FA is enabled on the server.
- Contact us to confirm 2FA is enabled on the server.
